Sunday, 14 February 2016

5 Ways to use Breadcrumbs


Leftover Bread.
I make bread in my bread maker daily - it's so much healthier than store bought bread which can sit on shelves for weeks and is packed full of preservatives.

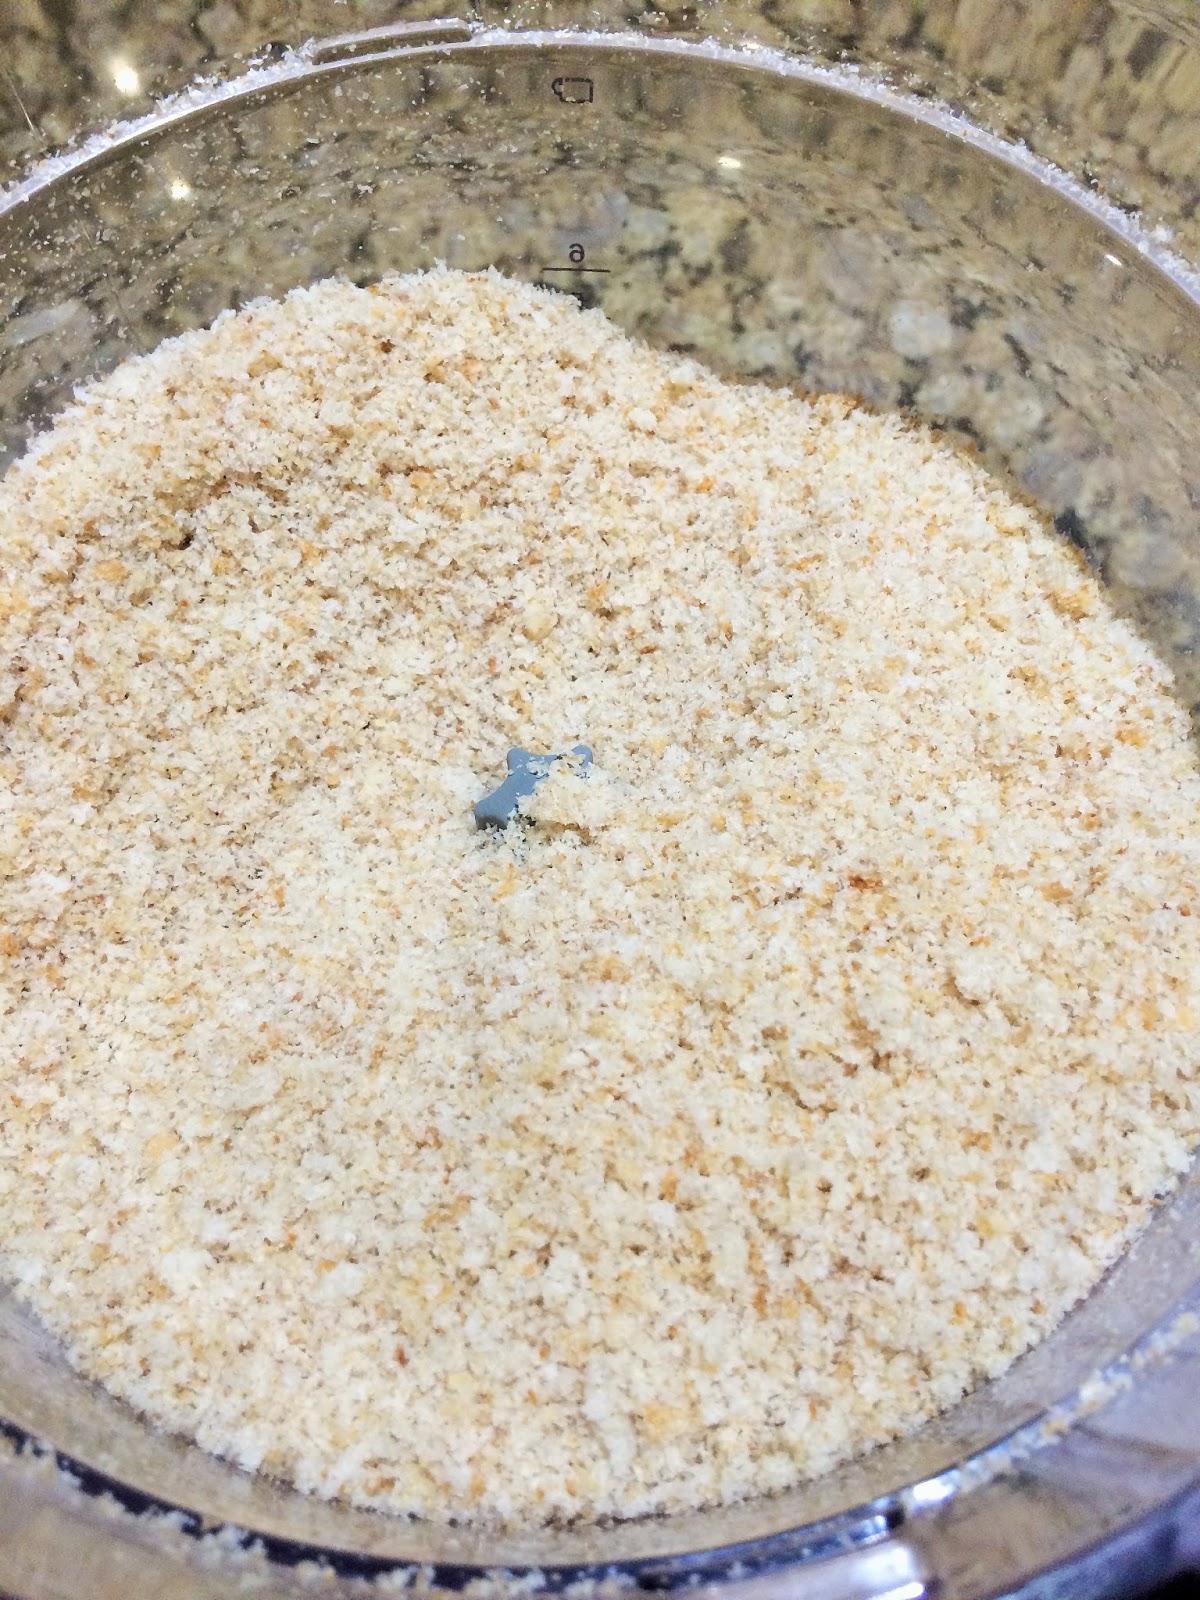
Rather than just throwing away any excess, I always make breadcrumbs with my leftover bread and freeze this for use at a later date.  Making breadcrumbs is so easy – just put in a blender or mixer and whizz.  Remember you can make breadcrumbs from any type of bread: sliced, wholemeal, ciabatta, garlic bread etc.

Here are some great ideas for breadcrumbs.
1. Topping for fish pie – sprinkle over the mashed potato for a lovely crispy texture or if you prefer for a low carb option replace the potato with a small sprinkle of breadcrumbs.

2. Stuffing – add to sausage meat with your favourite herbs and seasoning for great stuffing.  For a vegetarian option leave out the sausage meat. 


3. Nut Roast – why not have vegetarian roast for change?  There's loads of flavour in a nut roast, and breadcrumbs give it great texture.

4. Fish Goujons – for a healthy fish dish simply cut some fish fillets into strips, coat in breadcrumbs and oven bake. 

5. Chicken nuggets – simply cut your chicken into a size of your choice, coat with breadcrumbs and oven bake.  For a twist why not add a fajita or Cajun seasoning to the breadcrumbs.
TOP TIP - Freeze the breadcrumbs in small portions in sandwich bags and remember to write the date on the bags so you can use the oldest date first!

TOP TIP - To help the breadcrumbs stick to the fish or chicken, first roll the fish or chicken in flour then roll in a beaten egg and finally roll in the breadcrumbs!


http://www.elizabethskitchendiary.co.uk/no-waste-food-challenge/


Sunday, 7 February 2016

Wonky and Ugly Vegetables


Wow - I was so excited when watching Jamie & Jimmys Friday night feast to see that Asda have agreed to sell "wonky" or "ugly" vegetables in 128 of their stores.  These are vegetables which are simply an odd shape or maybe an unusual size. As a grower of lots of vegetables that are not perfectly shaped I know that just because the veg doesn't look great or is "ugly" it still tastes great.  It really annoys me that so much food is wasted because it doesn't look quite right. Hopefully now other supermarkets will catch on and the public will support farmers by buying the vegetable boxes. I always try to buy fruit and vegetables which are British grown and in season, they taste so much better in season and are usually cheaper.  So please go and buy your wonky or ugly vegetable box.  In honour of our lovely wonky and ugly vegetables  I thought I would give you some ideas for using the veg in some different ways.

Vegetable crisps: a great alternative to the shop bought packets of crisps which are stuffed full of preservatives, & artificial flavours.
Simply peel the veg - this works well with potato, sweet potato, carrot, parsnip or beetroot or mix them all together!
Once peeled thinly slice the veg (a veg peeler or cheese slicer is ideal for this)
Heat in a saucepan or frying pan some olive oil about 1.5 inches deep.
Ensure the oil is really hot and add some of the sliced veg.  Do not over fill the pan - it is better to fry a few bits at a time this way they cook better and will not get stuck together. They will only take a couple of minutes, once crispy remove from pan and place on kitchen paper to drain.
Season with salt and pepper.
Delicious tasty snack!

Thinly slice the veg
fry
Vegetable Crisps!


Soup & stock:  any vegetables can be turned into soup or stock especially if they are getting a bit old and droopy! Keep watching my recipe page for new ideas and recipes.

Vegetable dips - ideal for beetroot, butternut squash, carrot or broccoli.  I would suggest you do not mix these vegetables but make a separate dip with each vegetable type.

Roast the vegetables until soft. I add a splash of balsamic vinegar as well for extra flavour. For broccoli you may prefer to boil or steam.
Once cooked place in a food blender with 1-2 cloves of garlic and 1 teaspoon of cumin powder (this is for 2-3 beetroot).  For some extra "heat" add half a fresh chilli.
The amount of garlic, cumin & chilli can be adjusted to suit your taste - this is a guide only.
Blend until fairly smooth - you want to avoid chunks of garlic or chilli in your dip!
Add a couple of tablespoons of olive oil to loosen the mixture.
Add a couple of squeezes of lemon or lime juice.
Add a couple of drops of worcestershire sauce.
Blend again until it is all combined.

This is great served with fresh bread, toasted pitta bread or breadsticks.

Any of these dips can be frozen for use another day.

I hope this has given you some inspiration! 


Thursday, 4 February 2016

Scrumptious Flap Jacks


Scrumptious Flap Jack Recipe

These flap jacks are healthy & delicious.  They are a great healthy snack to put in the kids lunchboxes.  A great alternative to the "shop bought snack" which is packed full of sugars & preservatives.  The inspiration for this recipe came from Hugh Fearnley-Whittingstall.

Ingredients:-
125g butter
120g soft brown sugar
125g peanut butter (crunchy or smooth to your taste)
75g honey
Lemon Juice
200g oats
150g seeds of your choice: sunflower, sesame, pumpkin or a mixture of your favourites.
100g unsalted chopped nuts of your choice: walnuts, cashews, pistachios or a mixture of your favourites.  Note:- You can buy whole nuts and whizz in the blender/mixer or chop with a knife.
50g  dried fruit of your choice:- raisins, sultanas, mixed dried fruit or a mixture.  Use unsweetened as this will keep the sugar content lower.

Method:-
Line a baking tin with oiled grease proof paper.  Baking tin size approx 25cm x 20cm.
Slowly melt the butter, and add the sugar, peanut butter, honey and a squeeze of lemon juice.
Be careful not to let the butter overheat - it just needs to gently melt so the ingredients combine together.
Remove from the heat.
Add the seeds, nuts & dried fruit.
Thoroughly mix with a wooden spoon.
Spread the mixture evenly into the baking tin.
Bake in the oven at 170 degrees for 25 - 30 minutes.
The flap jacks are ready when the are a golden brown colour.
Remove from the oven and leave in the tin to cool.
Once cooled tip from the tin and cut into squares/rectangles.

ENJOY THIS HEALTHY DELICIOUS SNACK!

Saturday, 30 January 2016

Homemade Pizza & Garlic Pizza

Garlic Pizza

 HOMEMADE PIZZA & GARLIC PIZZA


Hooray, it's Friday!  Tonight we had fun making home made pizzas.  These are a great way to involve kids in cooking and best of all everyone can add their own favourite toppings. These are so much better than frozen or shop bought pizzas as they have no preservatives and they taste absolutely great. Its also a great way to get kids to eat vegetables and use up any odd bits of ham, mushrooms and cheese etc.


TOP TIP:-  I would really recommend you invest in a pizza stone to bake the pizzas on. It helps to create that authentic stone baked texture and cooks the base from underneath so no soggy bits in the middle. Remember to place the stone in a cold oven then heat the oven - this will prevent the stone from cracking.  Make sure the stone is well heated before cooking the pizza on it.


I make my pizza dough in the bread maker but you could buy ready made bases or make a dough using bread flour, yeast, salt and water.

Whilst the dough is being prepared in the bread maker prepare your toppings.  Here are some ideas:-
Chopped peppers & onions.
Sliced ham, chorizo, cooked chicken, tuna, prawns (any meat or fish should be cooked first)
Sliced mushrooms.
Sweetcorn, pineapple.
Grated cheese.

For the tomato sauce:-
  • 1 can tomatoes.
  • Herbs of your choice.
Place the can of tomatoes in a saucepan and add herbs of your choice: oregano, basil & sage are all great with tomatoes.  If you fancy add a splash of Worcestershire sauce or chilli sauce. For a smooth texture whisk with a hand held blender.  Heat and allow to simmer on a medium heat for about 30 minutes until the sauce has reduced. Stir the sauce every few minutes to prevent it sticking to the pan.

For the garlic butter:-

  • 20g - 50g butter at room temperature (depending on the size if your pizza).
  • 1-2 cloves garlic.

Crush the garlic cloves with a garlic crusher (or finely chop).
Add to the butter and mix well.
Any left over garlic butter can be stored in the fridge for use another time.

Build your pizza:-

Roll out your pizza dough.
Spread the tomato sauce over the base.
Add toppings.
Bake in oven (on pre heated pizza stone) for 10 - 15 minutes until the cheese is melted and the crust is lightly browned.

For the garlic pizza simply roll out the pizza dough and spread the garlic butter evenly as if buttering a slice of bread.
Bake as above.


Before baking

These pizzas may not be perfectly round but they are delicious!


Enjoy!

Wednesday, 27 January 2016

Welcome!


Hi, welcome to Countryside Cookery - a blog written by a busy working mum with a passion for cooking healthy tasty food, using locally sourced ingredients and minimal waste.
i.HiI will be sharing some of my favourite recipes, tips and ideas to make feeding your family easier  I bulk cook my meals and freeze them in family sized portions so that on busy days I can still feed my family a good healthy meal just by reheating! I love the idea of using locally sourced ingredients and turning them into delicious healthy recipes. I also have a pet hate of food waste and have a passion for turning left over food into healthy tasty meals. I grow lots of my own vegetables which is a great way to get the kids interested in vegetables which are so good for you.
Where possible I always buy meat from local farm shops or even direct from farmers. I rear my own pigs and I use every part of the pig in my cooking.  If you are lucky enough to be able to obtain a farm reared whole pig (or half a pig) always ask for the offal and head.  These can make some fantastic meals.  The best thing about rearing your own meat is that you know where it has come from and that there are no additives.
Although buying a pig or lamb from a local farmer may seem expensive at the time, if you calculate the amount of meat and meals you can make from this it really is cost effective. Also bear in mind this will be good quality meat and will not have been “fast reared” for supermarket needs.  Ask if you can have it butchered to suit your family so the joints are the right size for your needs, place in the freezer and use as you need it.  If this cannot be done cut the joints down to size yourself before placing in the freezer or use the leftovers for another meal.


My husband is a member of a local shooting synidcate so during the game season I have plenty of pheasants, pigeons and partridges many of which are frozen to keep me going all year round.  During the game season ask your local farmers or butchers if they can get you game.  If you can buy direct from a game keeper they can be very reasonably priced.
In my blog I will be giving you lots of ideas on how to make the most out of your food.